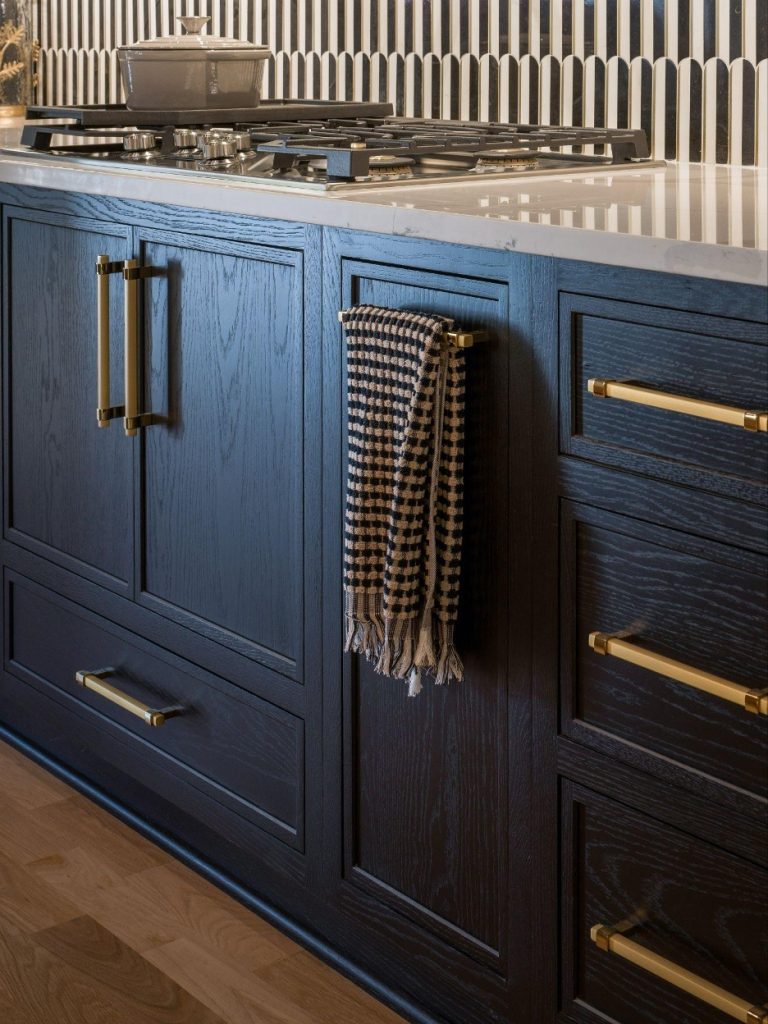
How to Install Cabinet Hardware Like a Pro
Installing cabinet hardware might seem like a small task, but the right technique can make a big difference in your home’s overall look and functionality. This step-by-step guide will help you achieve a professional finish. Refer to Guide To Choosing Cabinet Hardware for help choosing the perfect hardware for you and your home.

Tools and Materials You’ll Need:
- Cabinet knobs or pulls
- Measuring tape
- Drill and drill bits
- Screwdriver
- Hardware jig or template (optional but highly recommended)
- Level
- Masking tape
- Pencil or marker
- Screws (typically included with your hardware)
Step 1: Plan Your Hardware Placement
- Determine the Position:
- For knobs, the standard placement is about 2-3 inches from the lower corner of upper cabinets or the upper corner of lower cabinets.
- For pulls, position them so the center of the pull aligns with the desired height or width.
- Measure Consistently:
Use a measuring tape to ensure consistent placement across all cabinets.
Step 2: Use a Template or Create a Jig
- A hardware template or jig ensures uniform hole placement, saving time and reducing errors.
- Align the template with the cabinet edge and mark the drill hole locations with a pencil or marker.
- For DIY jigs, use a piece of cardboard or thin plywood to create a reusable guide.
Step 3: Mark the Drill Holes
- Apply a strip of masking tape to the cabinet where you plan to drill. This prevents splintering.
- Use your template or measurements to mark the exact spot for each hole.
Step 4: Drill the Holes
- Choose a drill bit slightly smaller than your screw diameter.
- Drill straight through the marked spots, applying steady pressure to avoid splintering.
- Pro Tip: Drill partially through the front of the cabinet, then finish from the backside to avoid splintering on either side.
Step 5: Attach the Hardware
- Line up the hardware with the drilled holes.
- Insert screws from the inside of the cabinet and tighten using a screwdriver (avoid over-tightening, as this can damage the cabinet or hardware).
Step 6: Check Alignment
- Use a level to ensure that knobs and pulls are straight, especially on long drawers or wide doors.
Bonus Tips for a Polished Finish
- Test Fit First: Before drilling all holes, test the placement on one cabinet or drawer to ensure you’re happy with the position.
- Match the Style: Choose hardware that complements your cabinet design and overall décor.
- Soft-Close Hinges: If your cabinets have soft-close hinges, ensure the hardware placement doesn’t interfere with the closing mechanism.
Common Mistakes to Avoid
- Skipping the Template: Without a guide, your hardware might be misaligned.
- Drilling Too Large: Double-check drill bit sizes to ensure the screws fit snugly.
- Inconsistent Measurements: Even small misalignments can stand out. Take your time!
By following these steps, you’ll achieve a clean, professional look that enhances the beauty and functionality of your cabinets. Ready to take on the project? Let us know how it turns out!