
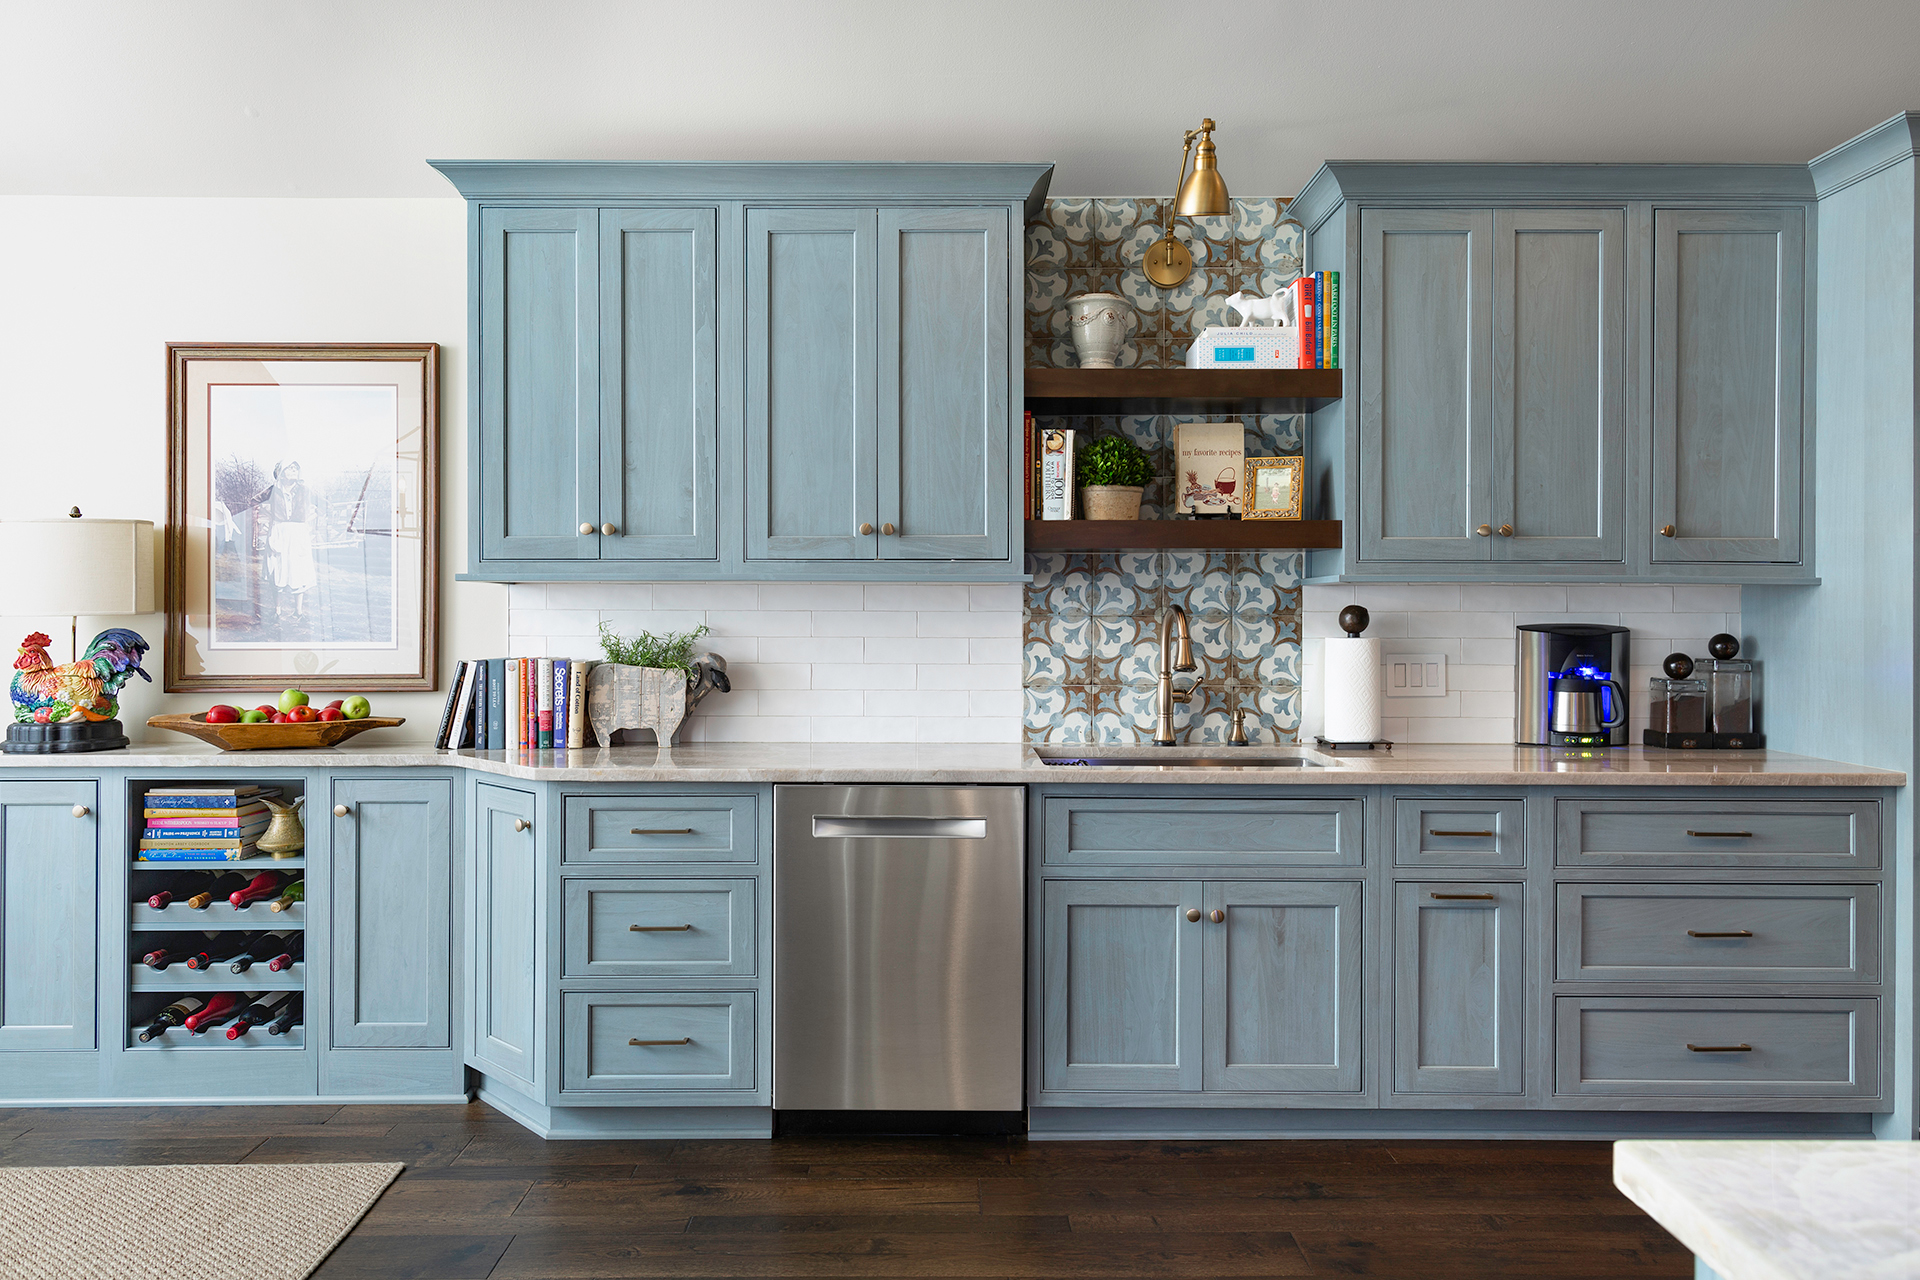
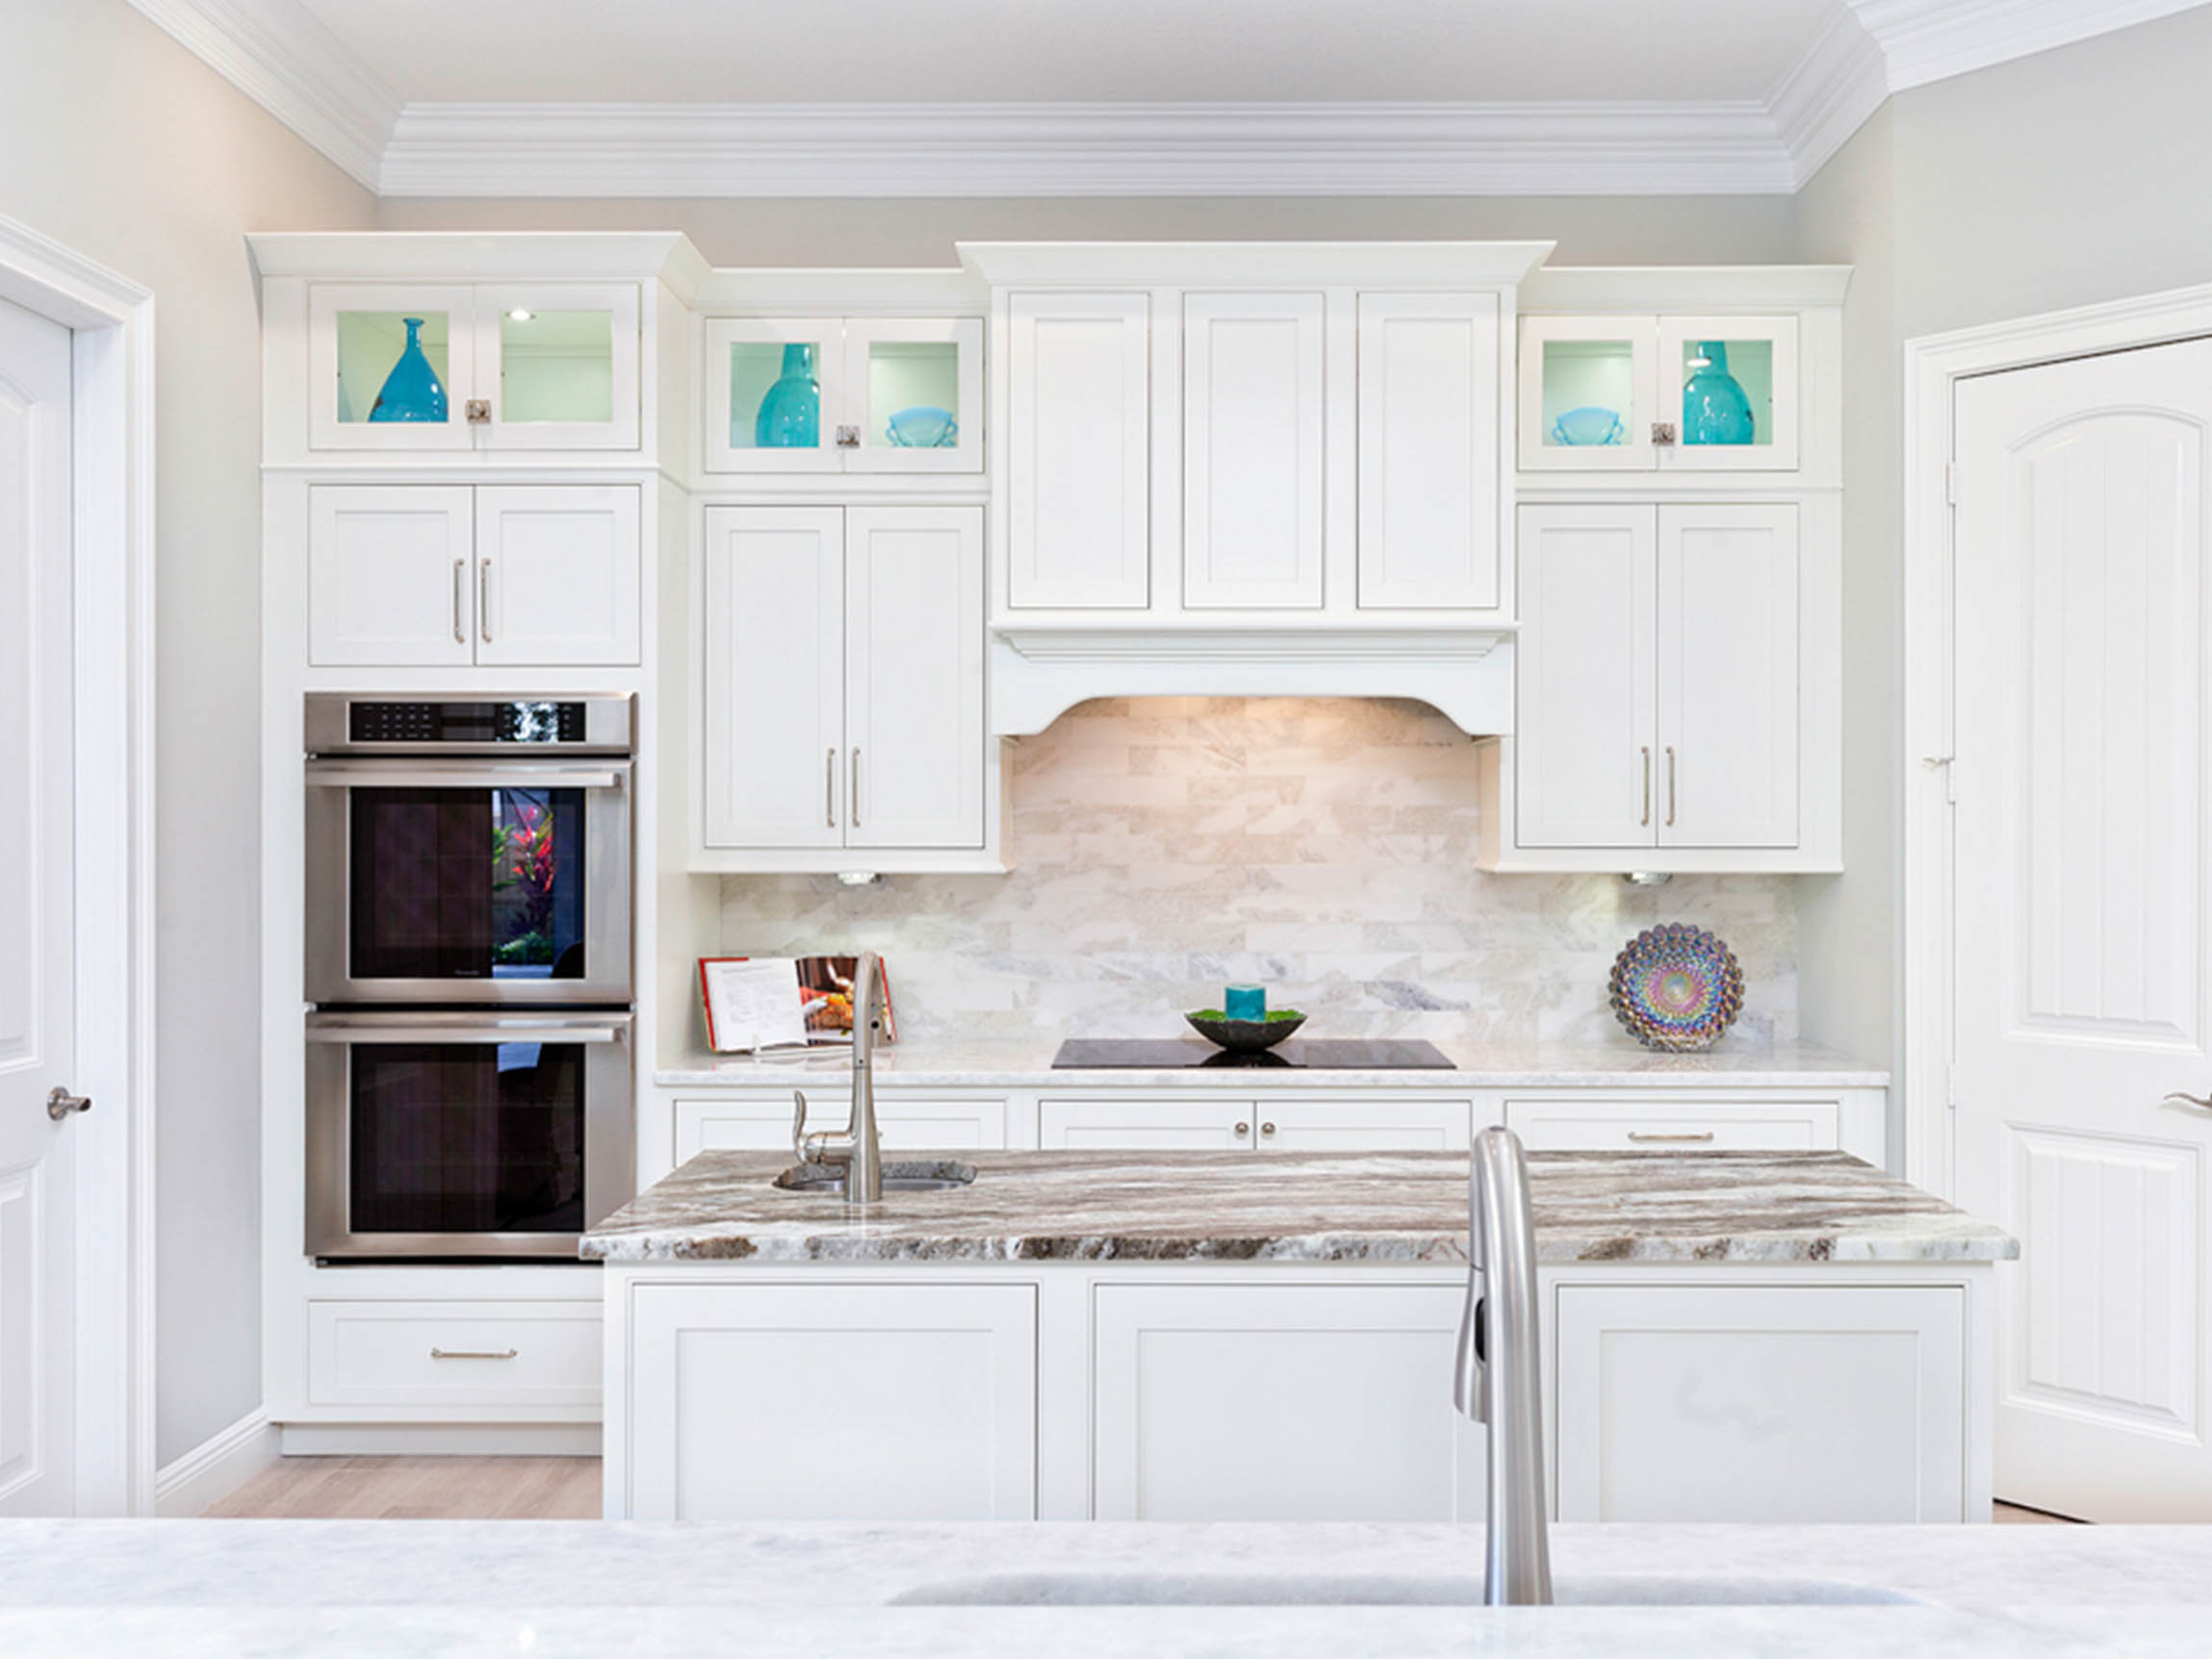
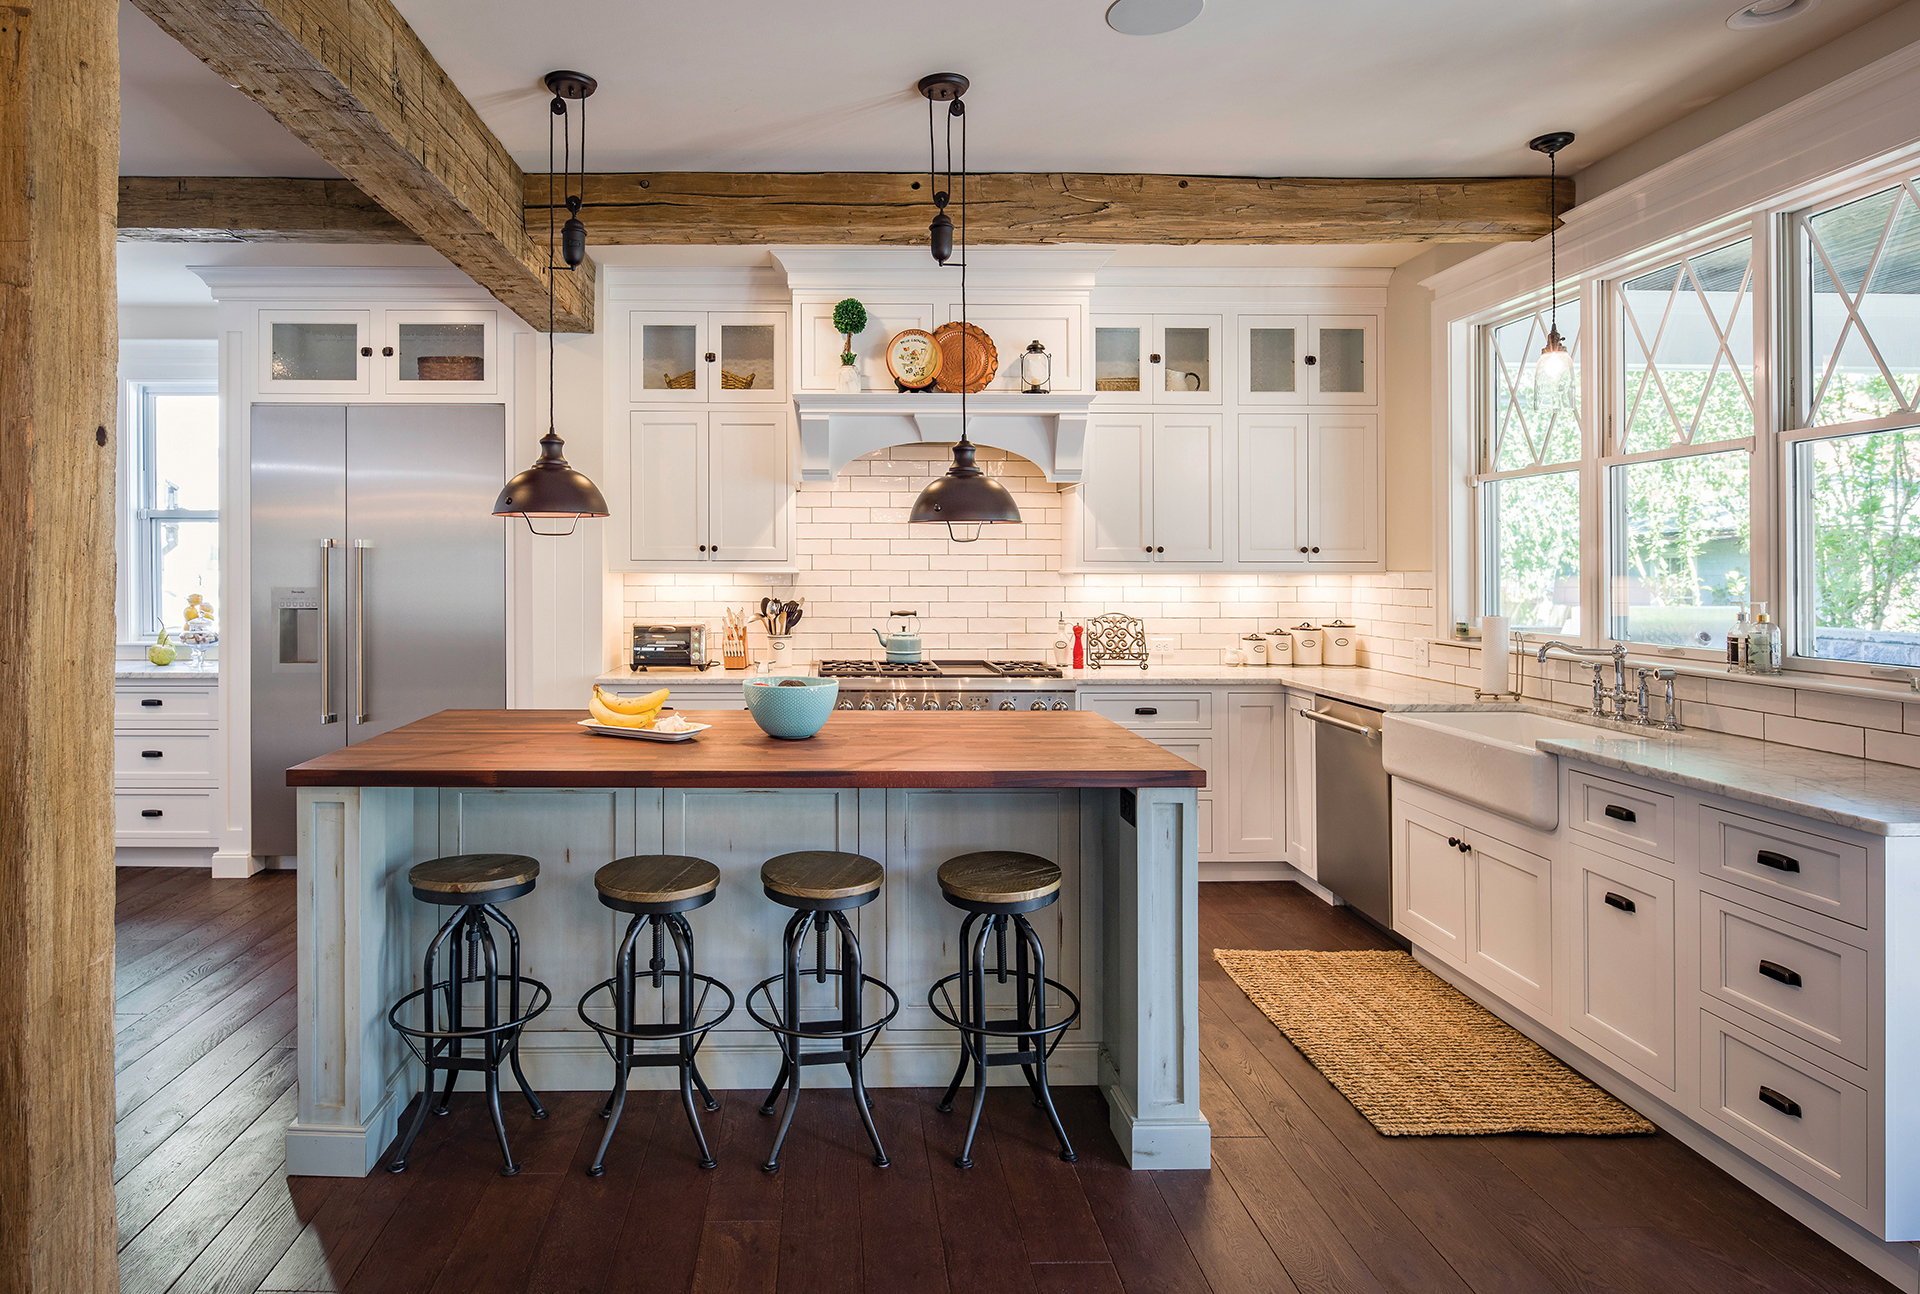
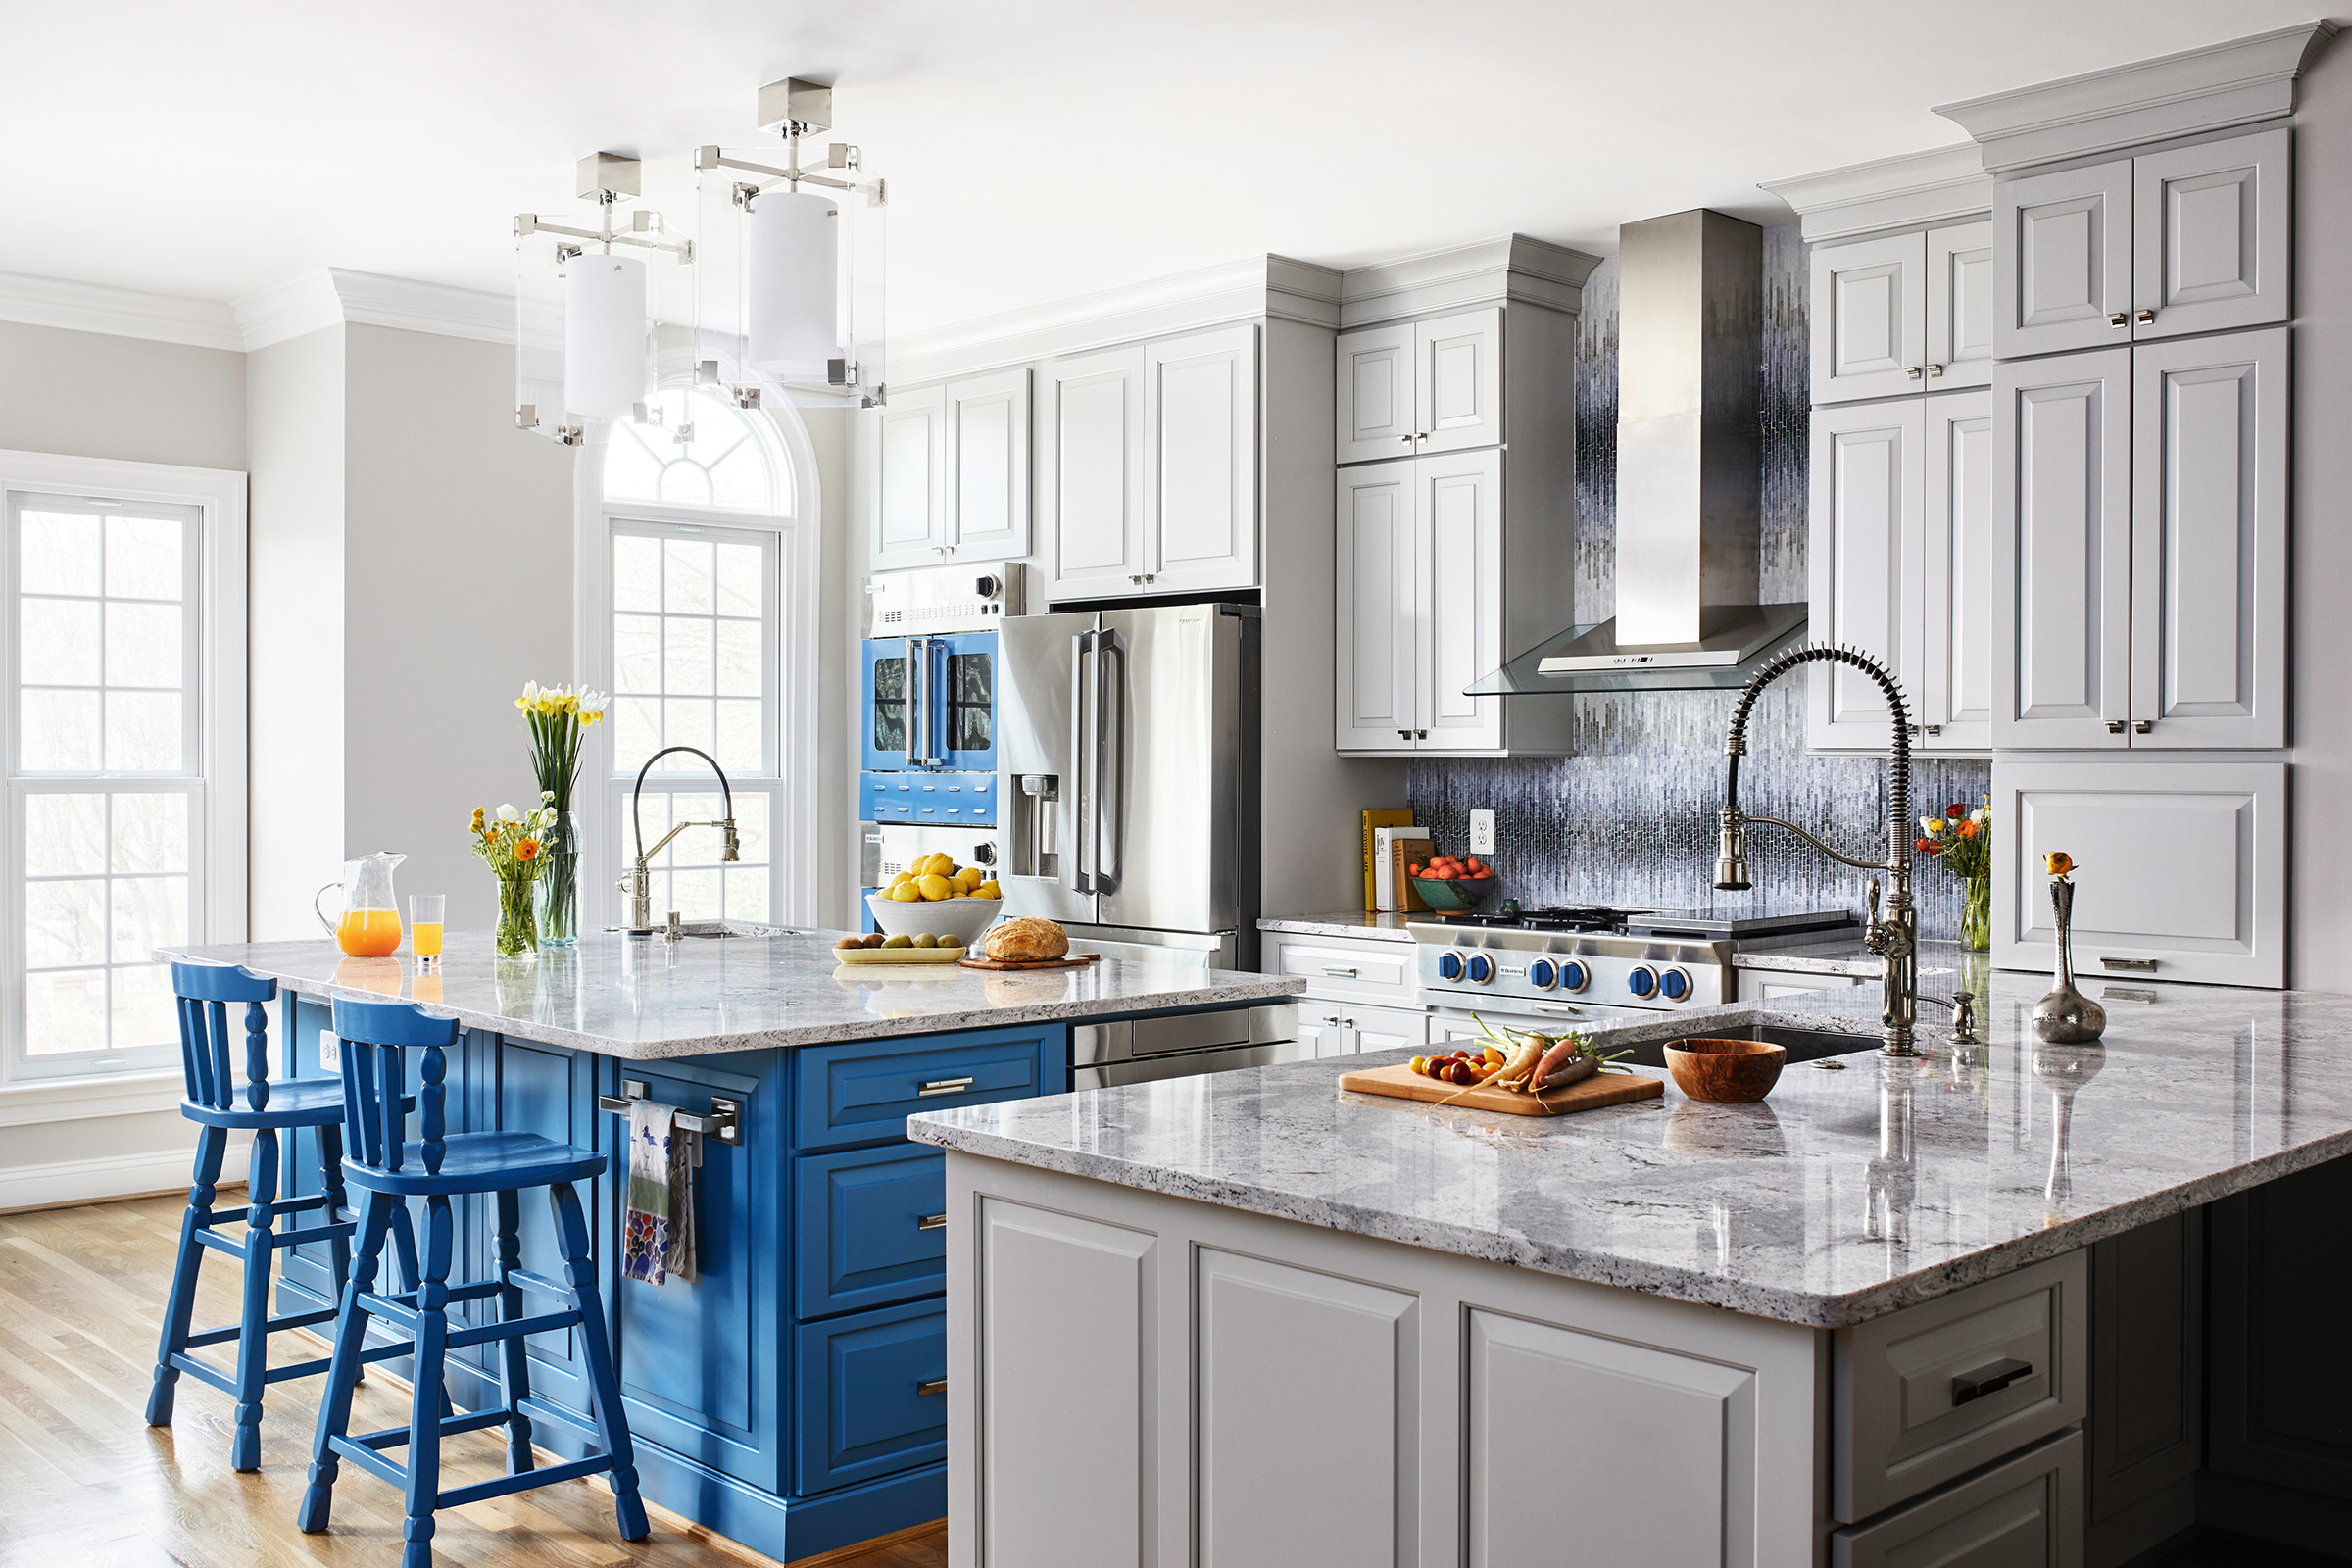
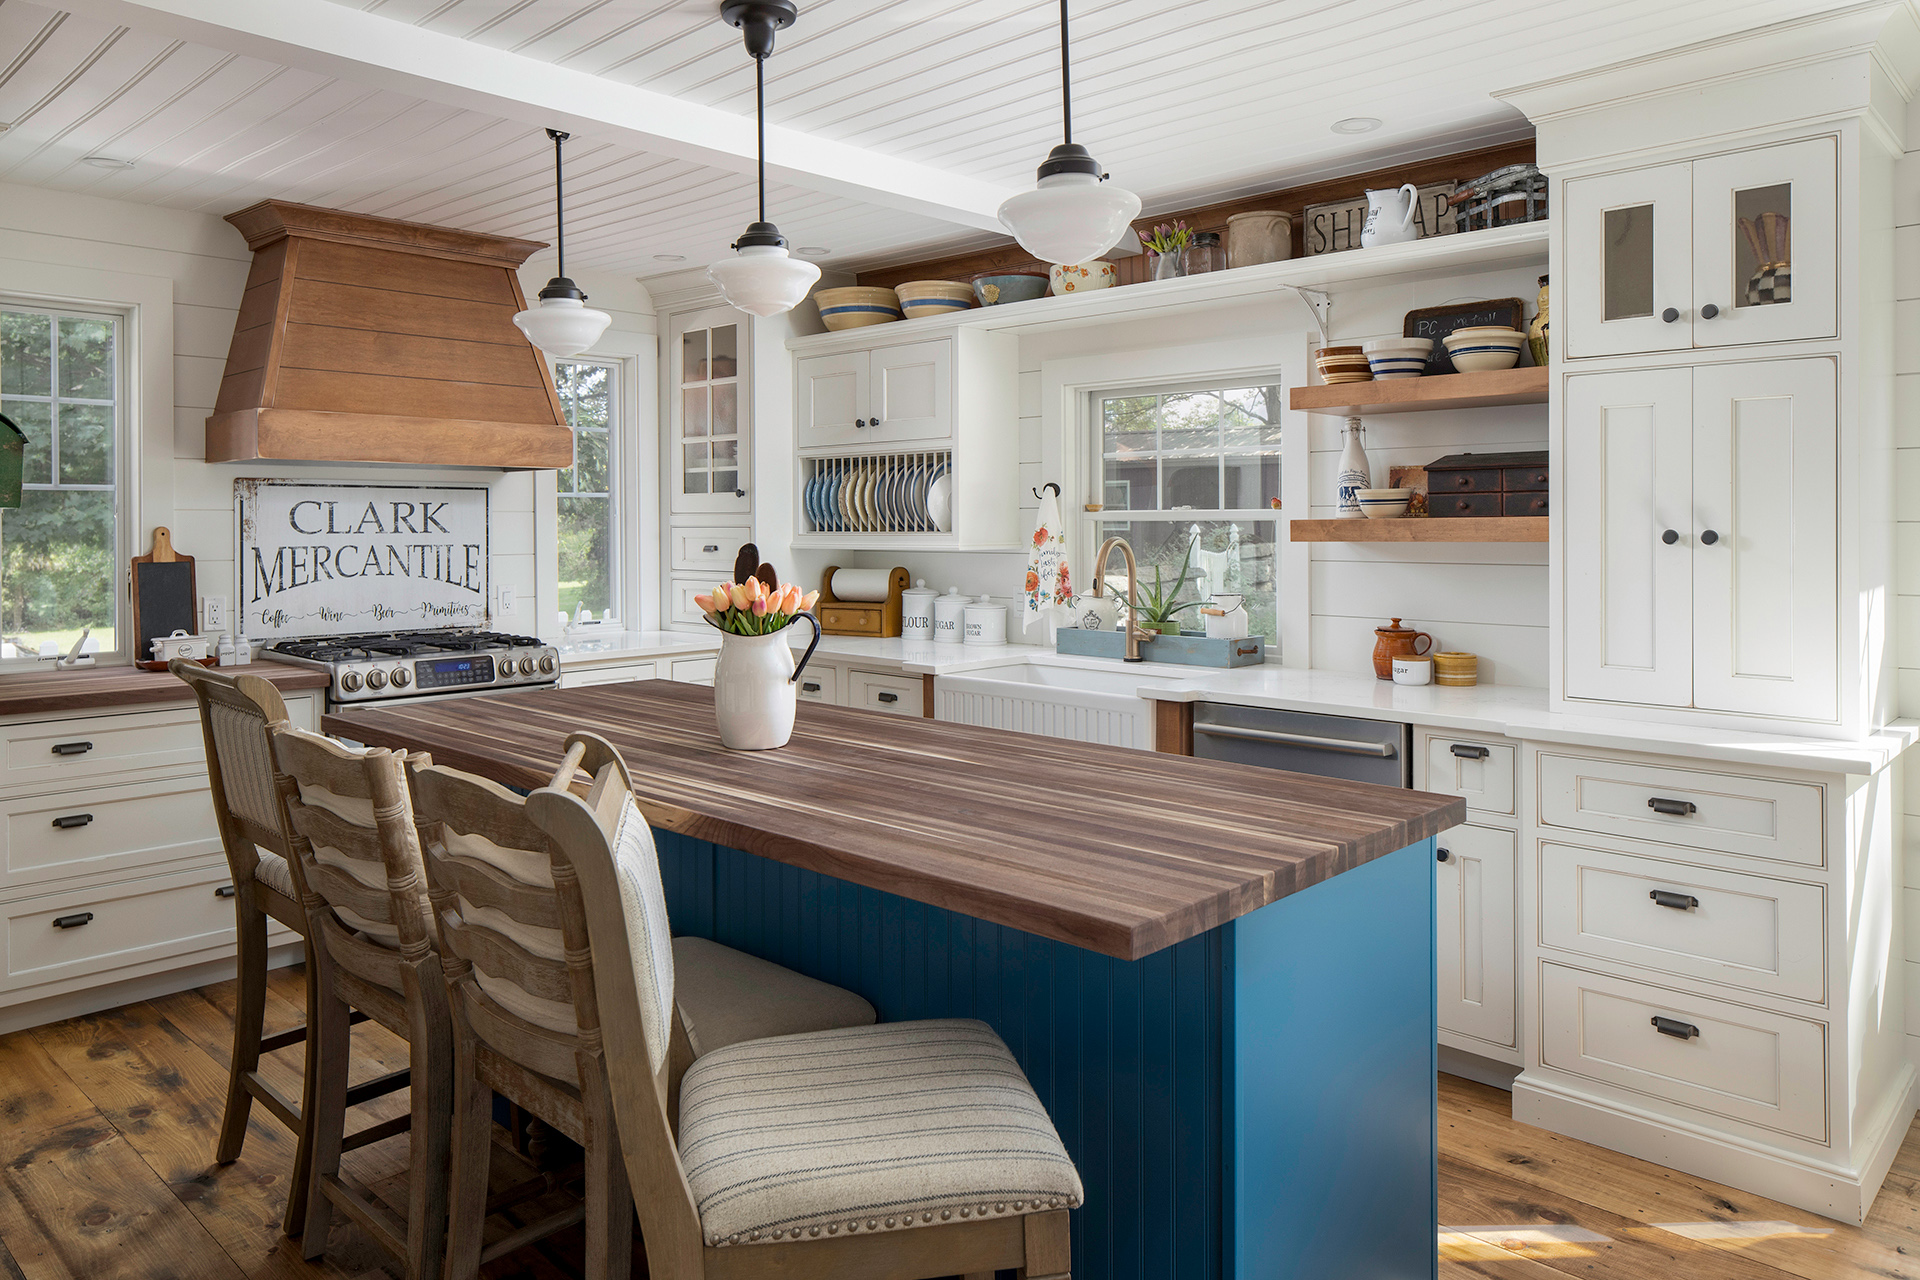
Along with new cabinet doors, a coat of paint is a prime way to give your space a fresh, new look. If a pricey, time-consuming project is out of the picture for you, painting is a great option to change it up without the hassle. These steps and tips will help you feel more confident when tackling this project. It doesn’t matter if you usually do DIY projects or hire someone to do them. You will benefit from these suggestions as they will make the process easier for you!
Step 1: Gather Supplies
To make this process as easy and smooth as possible, it will be crucial to gather all the supplies you could need before starting the project. You will need painters tape, drop cloths, paint brushes, foam rollers, wood filler, sandpaper, primer, and cabinet paint. Although it is a time commitment up front, you will definitely want to utilize the tape and drop cloths for a quick and easy clean-up! Another thing that will make your DIY job easier is investing in quality paint brushes and paint. To pick the right brushes and paint, do some research and check ratings on the supplies before making your decision!
Step 2: Remove Hardware and Door Fronts
This is a step that you do not want to skip over! Removing all doors and hardware will make your project go a lot quicker. Without having to tape around each handle or hinge, you will be happy you decided to remove them. Label everything during this step so you know where it goes when you need to replace it.
Step 3: Clean the Surfaces
Taking the time to thoroughly clean your cabinet surfaces before starting to paint them is going to be a game changer in your project. Whether it is grease, grime, or dust, making sure that this is all cleaned off will ensure that the paint will look smooth and last a long time.
Step 4: Wood Filler and Sand
Painting old cabinets to match your new doors can often mean that there are going to be imperfections such as bumps, scratches, or scuffs from throughout the years. You will want to repair these minor things with wood filler and sanding before the painting begins. Although these are old cabinets, this step is sure to make them look like you got all new cabinets, not just the doors!
Step 5: Prime and Paint
The preparation is just as important as the actual painting in this DIY project. To continue the preparation you need to prime the cabinets before applying any paint to the surface. Along with just simply making the paint look its best and last longer, you can also tell how well you cleaned and prepped the surface. If there are places that are imperfect when you apply the primer, you still have time to re-sand and fix it before the paint! After you have primed, you can begin painting!
After painting and letting it dry for 8 hours, put everything back and enjoy your new kitchen! It is time to plan a dinner party with all your friends and loved ones to show off your amazing DIY masterpiece!